How many times have you ever walked into someone’s house and saw something hanging on the wall and exclaimed, “I want to do that!” People are so crafty and have so many amazing ideas that you just can’t help but want to recreate their projects. Luckily, people love to share their projects with specific instructions so all of us at home can create similar masterpieces.
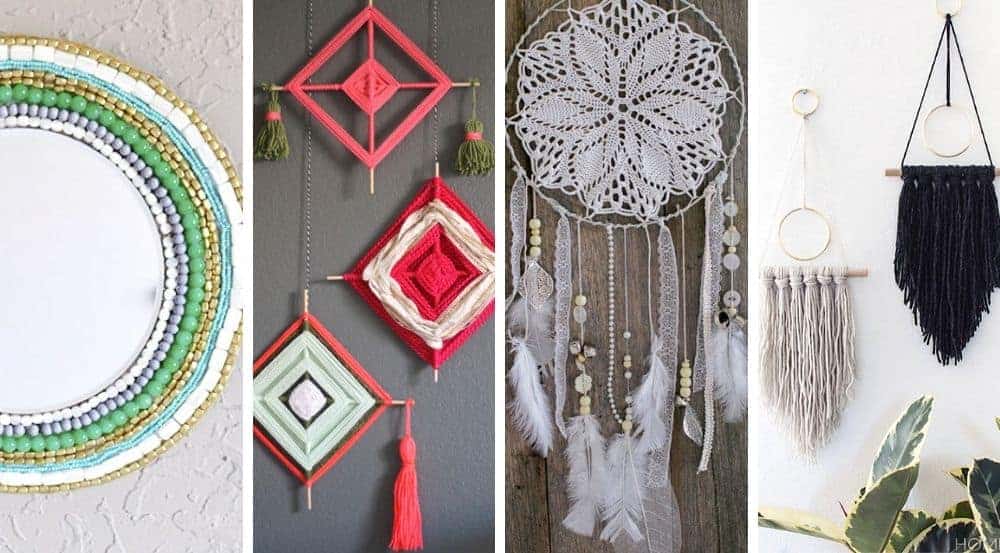
We are going to take a look at nine DIY Bohemian wall decor projects that you can do at home yourself or with your family. A brief description of some of the steps will be provided to give you an idea of the amount of work that you will need to complete the project. Each website does an amazing job of providing step-by-step directions on how to create your projects.
God’s Eye
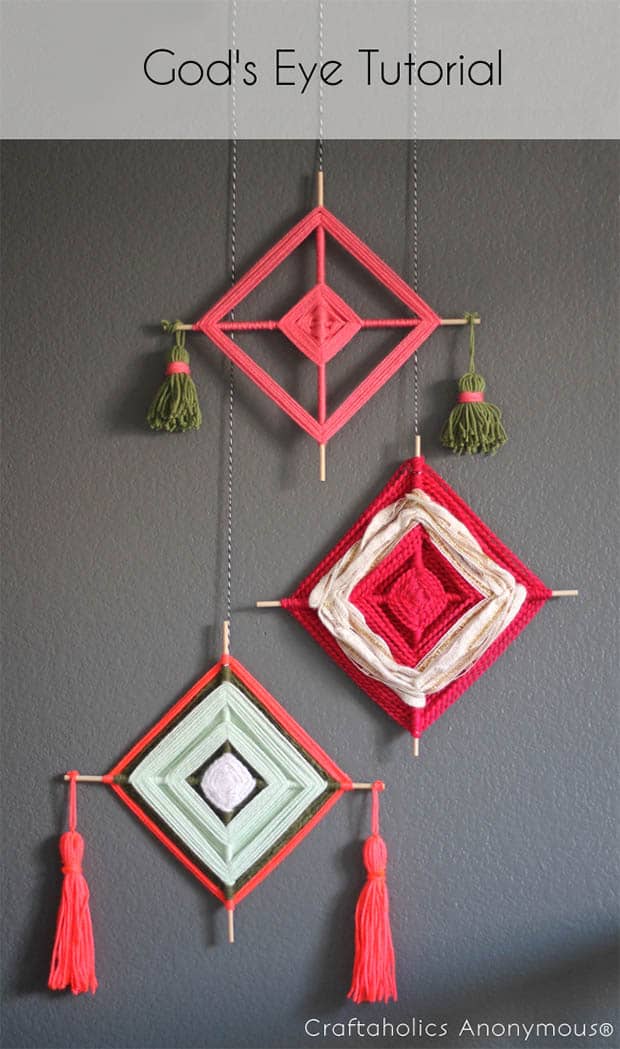
This is a great crafty idea to create with your kids. With two dowels, yarn, and scissors, you can experiment with different patterns and ideas to really grab a visitor’s attention. Simply place the two dowels next to each other and tie a knot around the middle. Twist them so they make a cross and the yarn wrapping can begin.
People can use the over/under approach and play around with the wrapping of the yarn to create different directions and patterns. For an added effect, people can hang tassels off of the sides by wrapping yarn around a piece of cardboard several times before cutting one end off of the cardboard. Tie a knot about an inch from the top of the tassel and you are ready to hang your added effects.
Modern Yarn Hanging
Modern yarn hangings are very common to see in many stores across the United States and very easy to make. The materials needed for this project include yarn, scissors, gold rings (1.5 and 3 inches), krazy glue, 14inch long piece of cardboard and round wood dowel. Begin by cutting a piece of yarn, fold it in half, and then place the 1.5inch gold ring in it. The loose ends of the string should be pulled through a yarn loop and pulled a little bit back down. Double knot the loose ends of yarn to each end of a wood dowel and reinforce with a dab of glue. Remove the excess yarn.
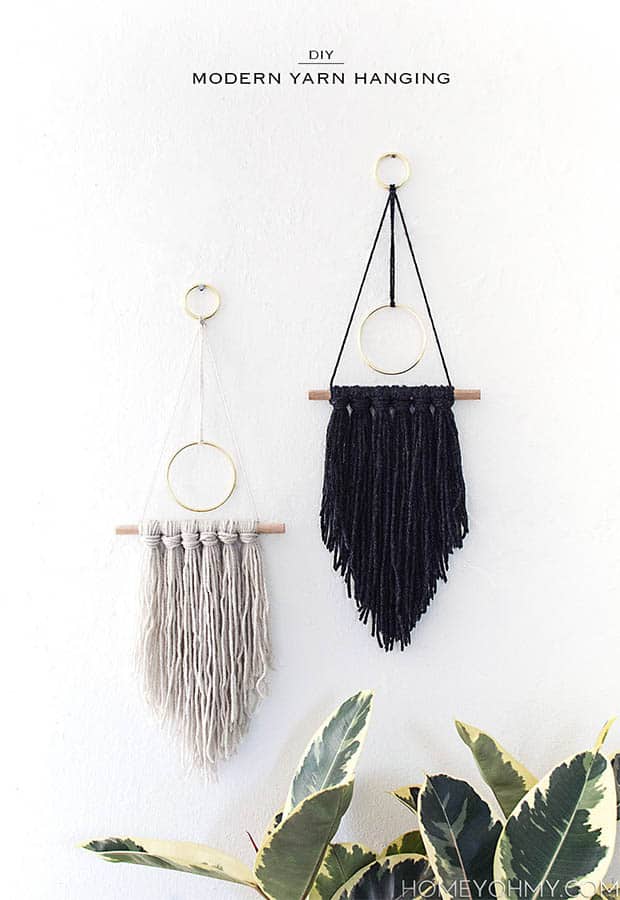
Using another folded piece of yarn, knot it on the other end and tie a knot on the 3inch ring. Pull the yarn through the loop of the first knot and then kept a loose knot around the other ring. Reinforce the knot with glue, remove the excess yarn, and pull the first knot tight to secure everything onto the gold ring. Using a piece of cardboard, wrap yarn around it roughly 10-12 times. Cut down one end and create a big knot around the dowel. Do this with 5 other pieces of yarn. Cut the yarn however you would like and attach the golden rings to marvel at your modern yarn hanging.
Wood and Leather Trellis Plant Wall
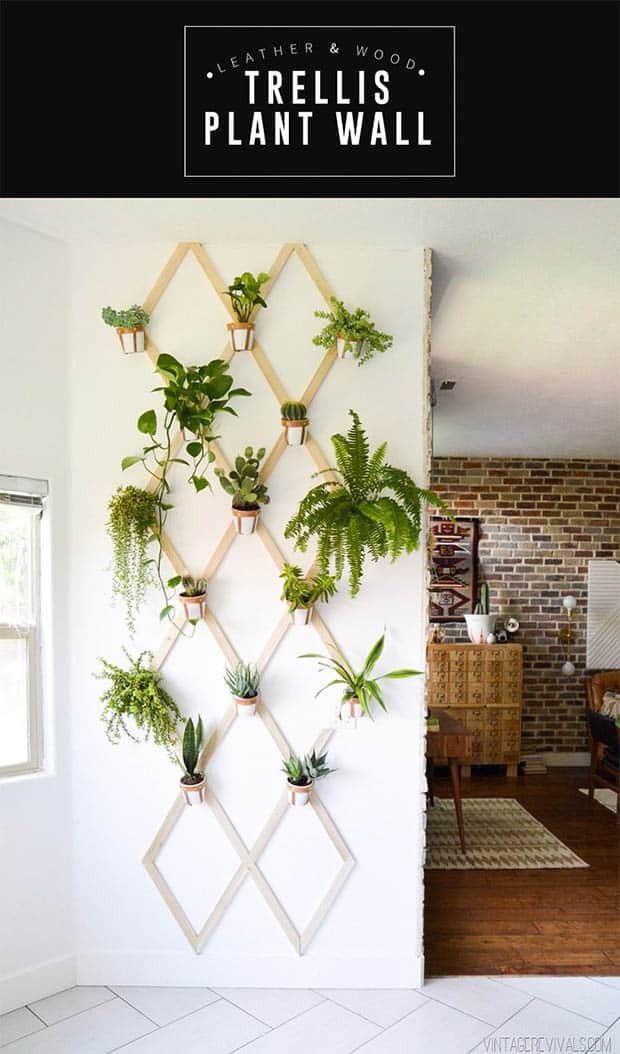
Create a centerpiece of floral designs on your wall! To begin, divide the width of your wall into thirds. Cut a 60 degree angle piece of wood trellis using a miter saw. You can play around with the lengths of the wood trellis to fit the dimensions of your wall. The 60 degree cuts when combined will make 120 degrees. With the trellis about 15inches long, the parallel boards will form 60 degree angles. The designs will be formed on your wall. Use tape first so you can play with the design, but then you will want to nail the pieces of wood into the wall. Add some hooks and purchase some small pots and hang your plants all over the wall.
Dream Catcher
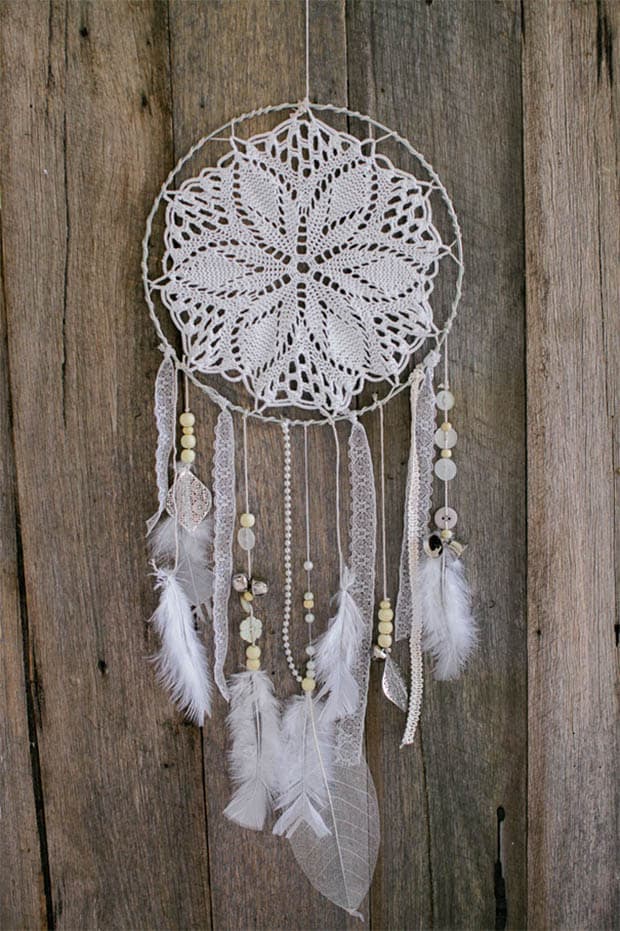
Everyone loves dream catchers! For materials, pick up a wooden or metal hoop, doilies, string, decorations of your choosing, a darning needle, and scissors. Begin by threading your needle with your string and tie one end to the hoope. Thread the string through the edge of the doily and loop it back around the hoop. Loop that needle around the hoop another 4-5 times without going through the doily. You’ll eventually catch another section of the doily later. Repeat this step around the entire edge of the hoop. Tie the knot to secure the doily in place. You will continue to weave in and out by viewing the pictures in the link. Be as creative as you can with all different kinds of decorations.
Woven Wall Hanging
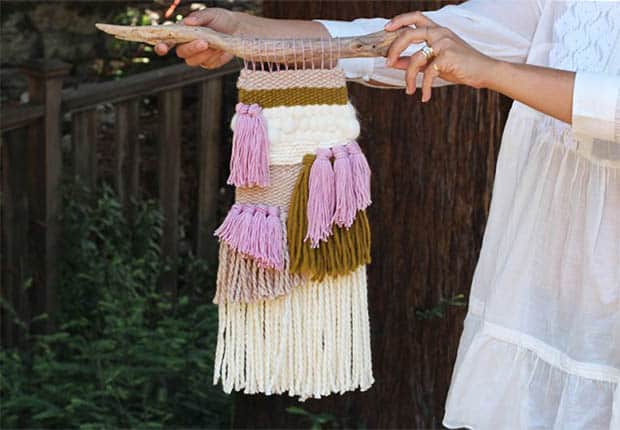
The woven wall hanging is going to have many of the same features as the modern yarn hanging. This will involve some creative weaving strategies, but the methods shown in the link really make it easy to bob and weave! Materials needed will include an assortment of yarn, twine, tapestry needle, an open back frame or canvas stretcher frame, thin wooden dowel, metal tube or wooden stick, scissors, and a fork. You will be shown steps on how to set up the string around the frame in various patterns to create really cool designs. The thin dowel will then be placed about two inches from the top and then you’ll set up your yarn with the tapestry needle and the weaving will commence. The fork will be used to line up the yarn on the frame. You will then be able to set up the yarn tassels similar to ones used above to hang throughout the frame. It may seem complicated at first, but once you get the hang of weaving, the project is simple to complete. And, you’ll LOVE the final product.
Boho Yarn Wall Art
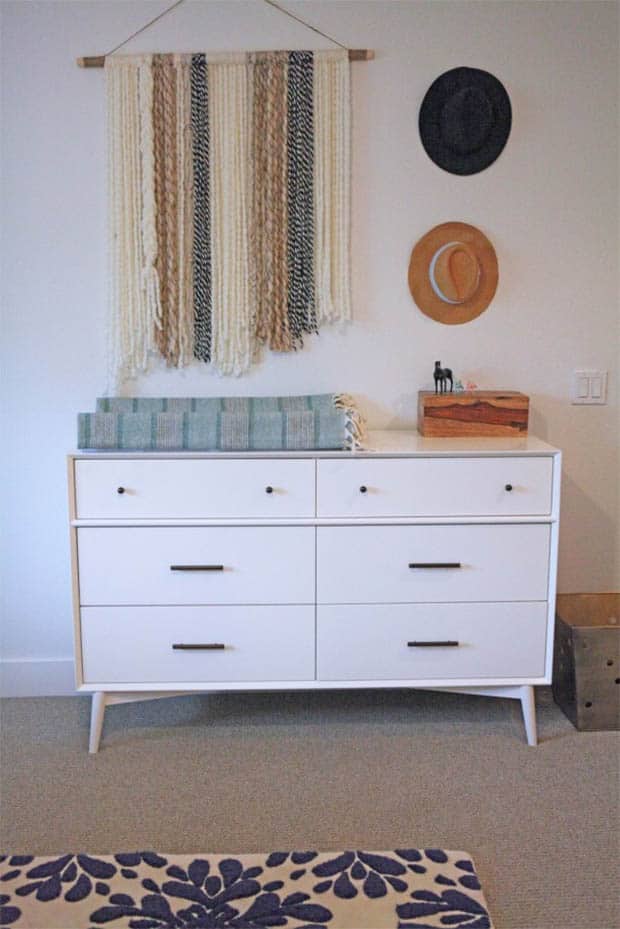
It is hard to believe how many unique yarn designs people can add to their walls. This project is more of a natural, earthy version of the yarn wall art project from above. Collect some tree branches, various colors of yarn, scissors, and a meter stick and you are good to go. You’ll be asked to trim a bunch of yarn to double the length of what you want your longest piece to look like. You will then slip knot them around the tree branch from one end to the other. You’ll keep doing this all the way across the branch keeping the yarn pieces close to each other. At the end, you can cut the bottom of the yarn in any design that you want, hand, and enjoy!
Macrame Curtain
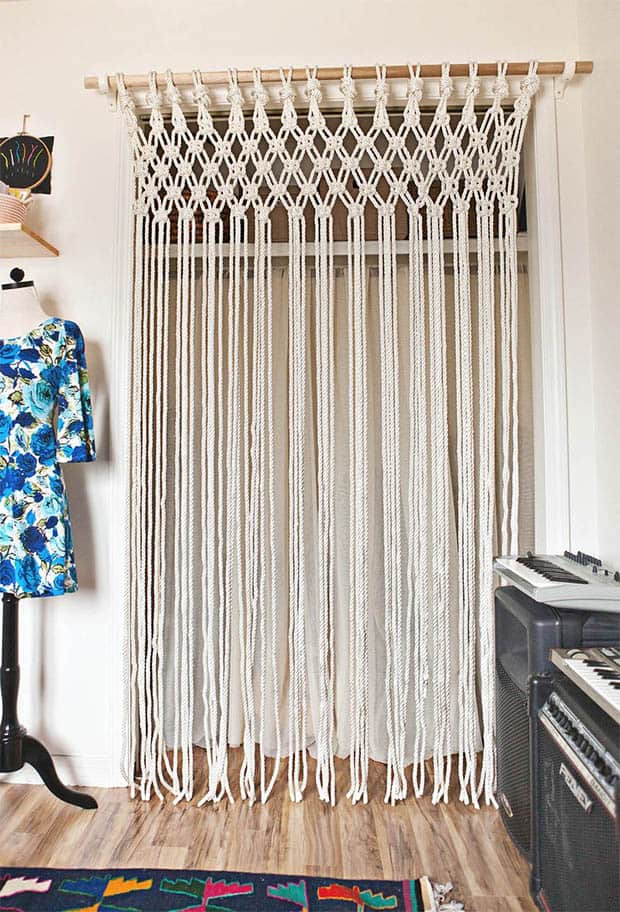
This is a gorgeous DIY project, but can look complicated at first glance. With a dowel and some rope, you can create one of the most diverse curtain designs ever seen. The website shows you the steps you need to take to tie the strands of rope together. Words and pictures go hand-in-hand to help you visualize each step of the process. The strands will eventually be added to the dowel with some intricate knots to hang as tassels. If you have been thinking about new ways to highlight your windows with a curtain, this is the project for you. This is a project that will require some patience, but the end result is something you can proudly show off for years to come.
Beaded Wall Mirror
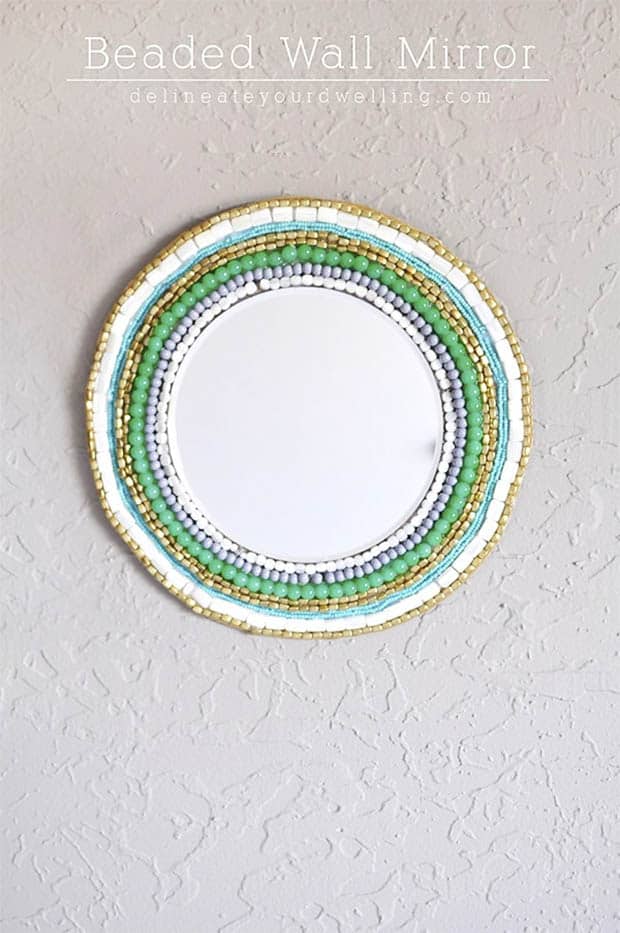
The final DIY project on the list is a little different than all the rest. The materials needed for this project include a cardboard circle, 6-inch round mirror, four different sets of decorative beads of your choice, color coordinating acrylic paints, hot glue, exacto knife, and a hook to hang your masterpiece. You’ll begin by using a large bowl to trace a circle onto the cardboard. With an exacto knife, cut it out. Hot glue will be used to secure the mirror to the back of the cardboard. Before gluing any of the beads down, paint a thin strip of acrylic paint underneath the cardboard so that the colors will blend in with the beads. Glue the beads around the mirror section by section until the mirror is left in the center. This is an easy DIY project that will light up any room.
